Today, I will explain how to create a custom interactive cursor on Framer, which is incredibly fascinating.
The cursor is fully customizable and offers the following features:
It changes based on what it is pointing to. For instance, it alters when hovering over a specific element or a particular section of the website.
It can be animated.
The cursor can either follow the system cursor or completely replace it.
The cursor movement can be much smoother with the help of a transition that introduces delays.
To accomplish this, you will need a page on Framer and a component that we will create shortly.
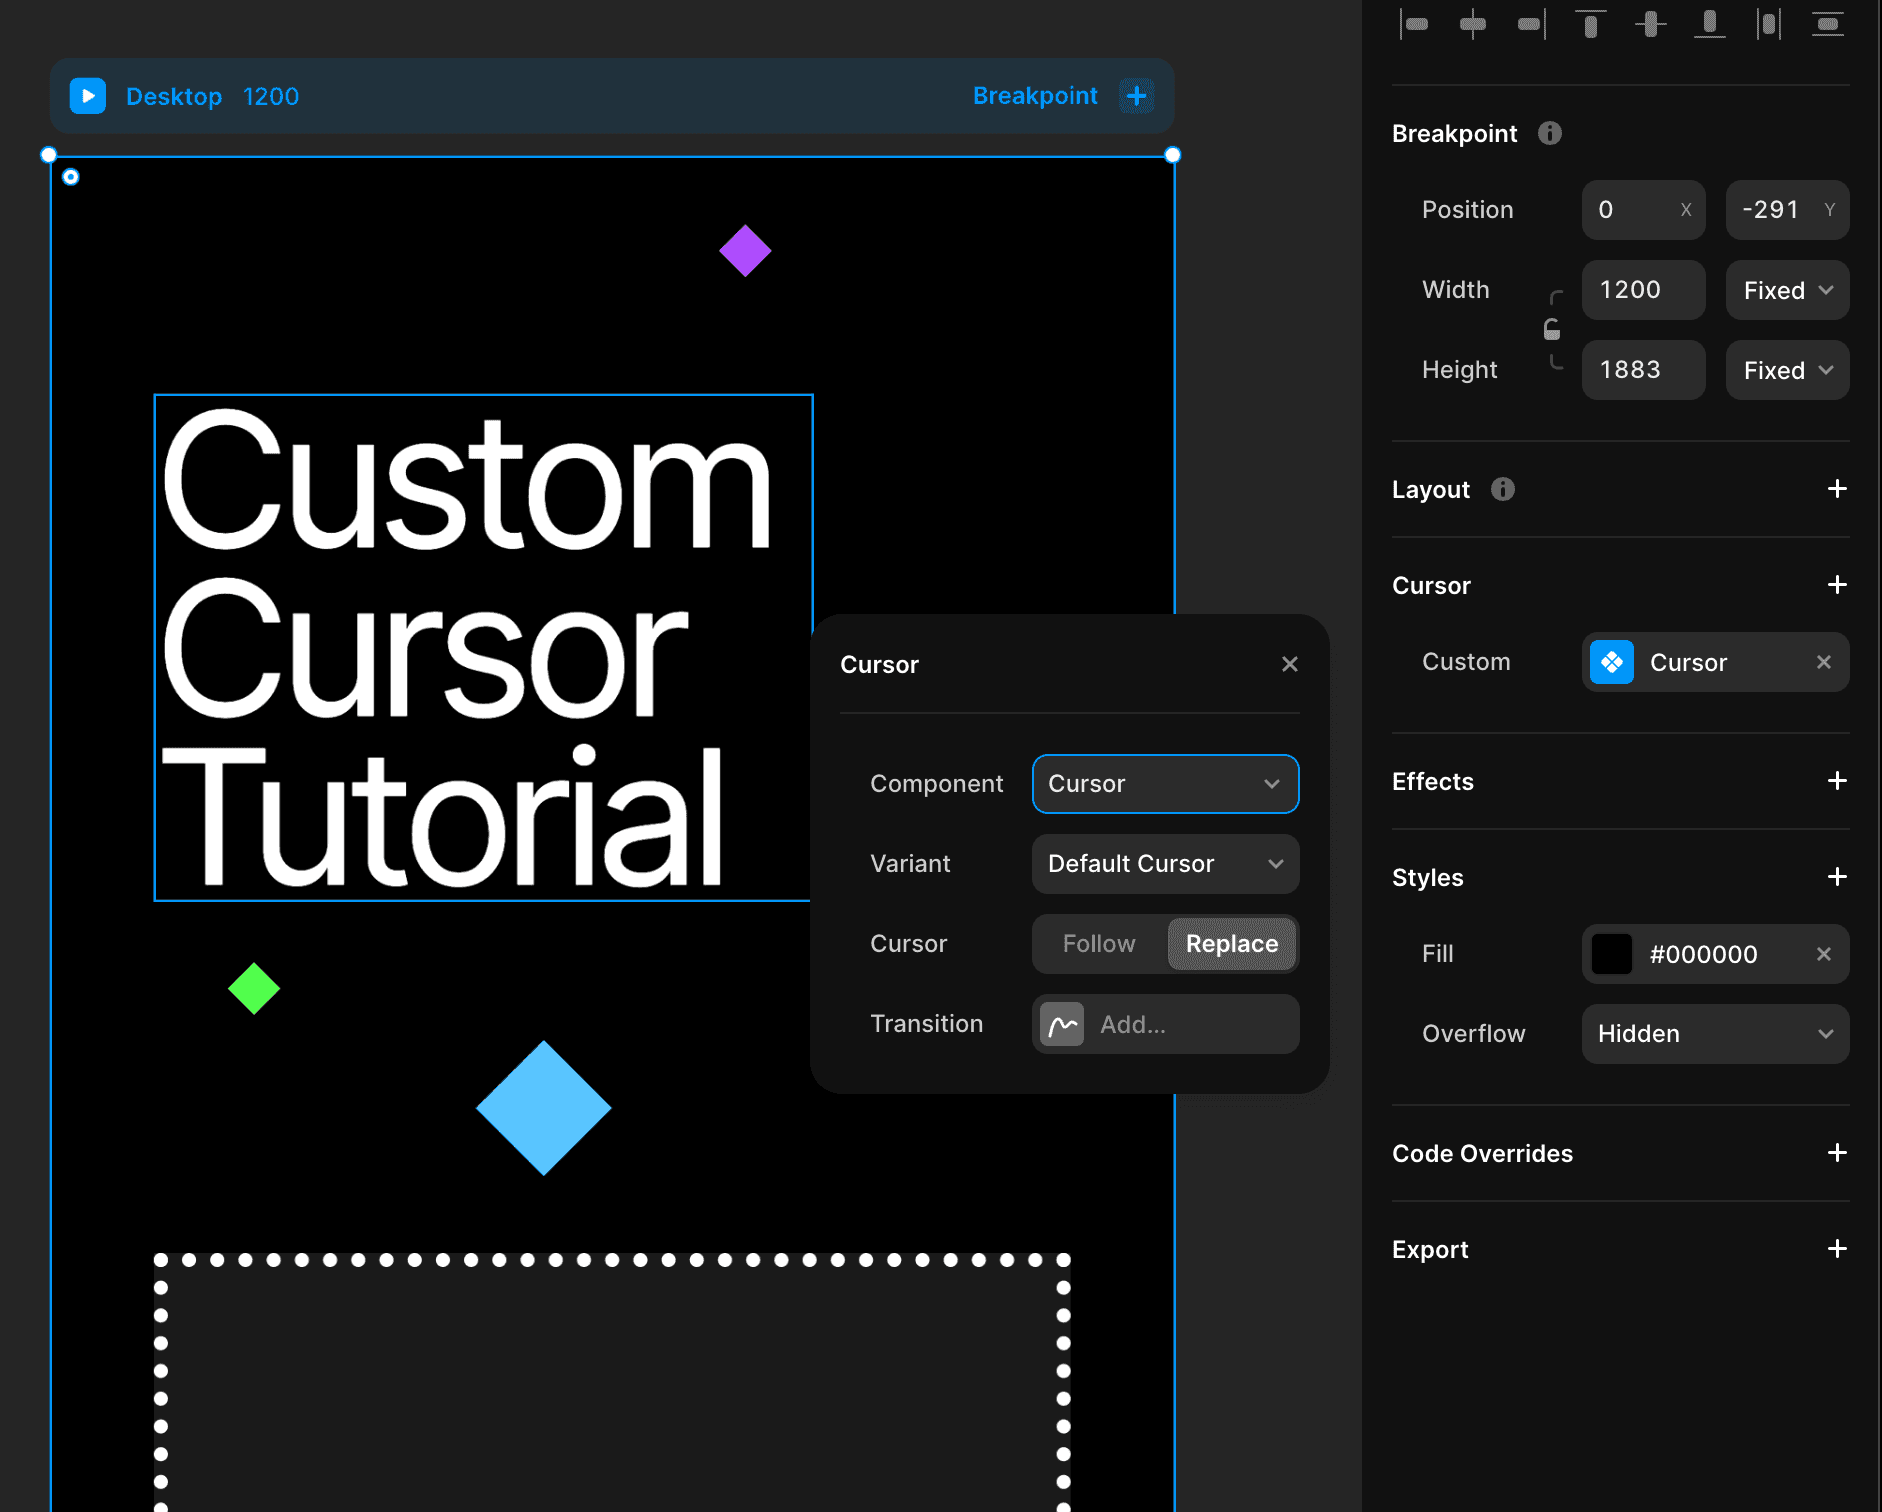
The Cursor Component
To begin, let's create a simple component called "Cursor" from the component panel. Remember, for any project, a single component will suffice as we will incorporate all variations within it.
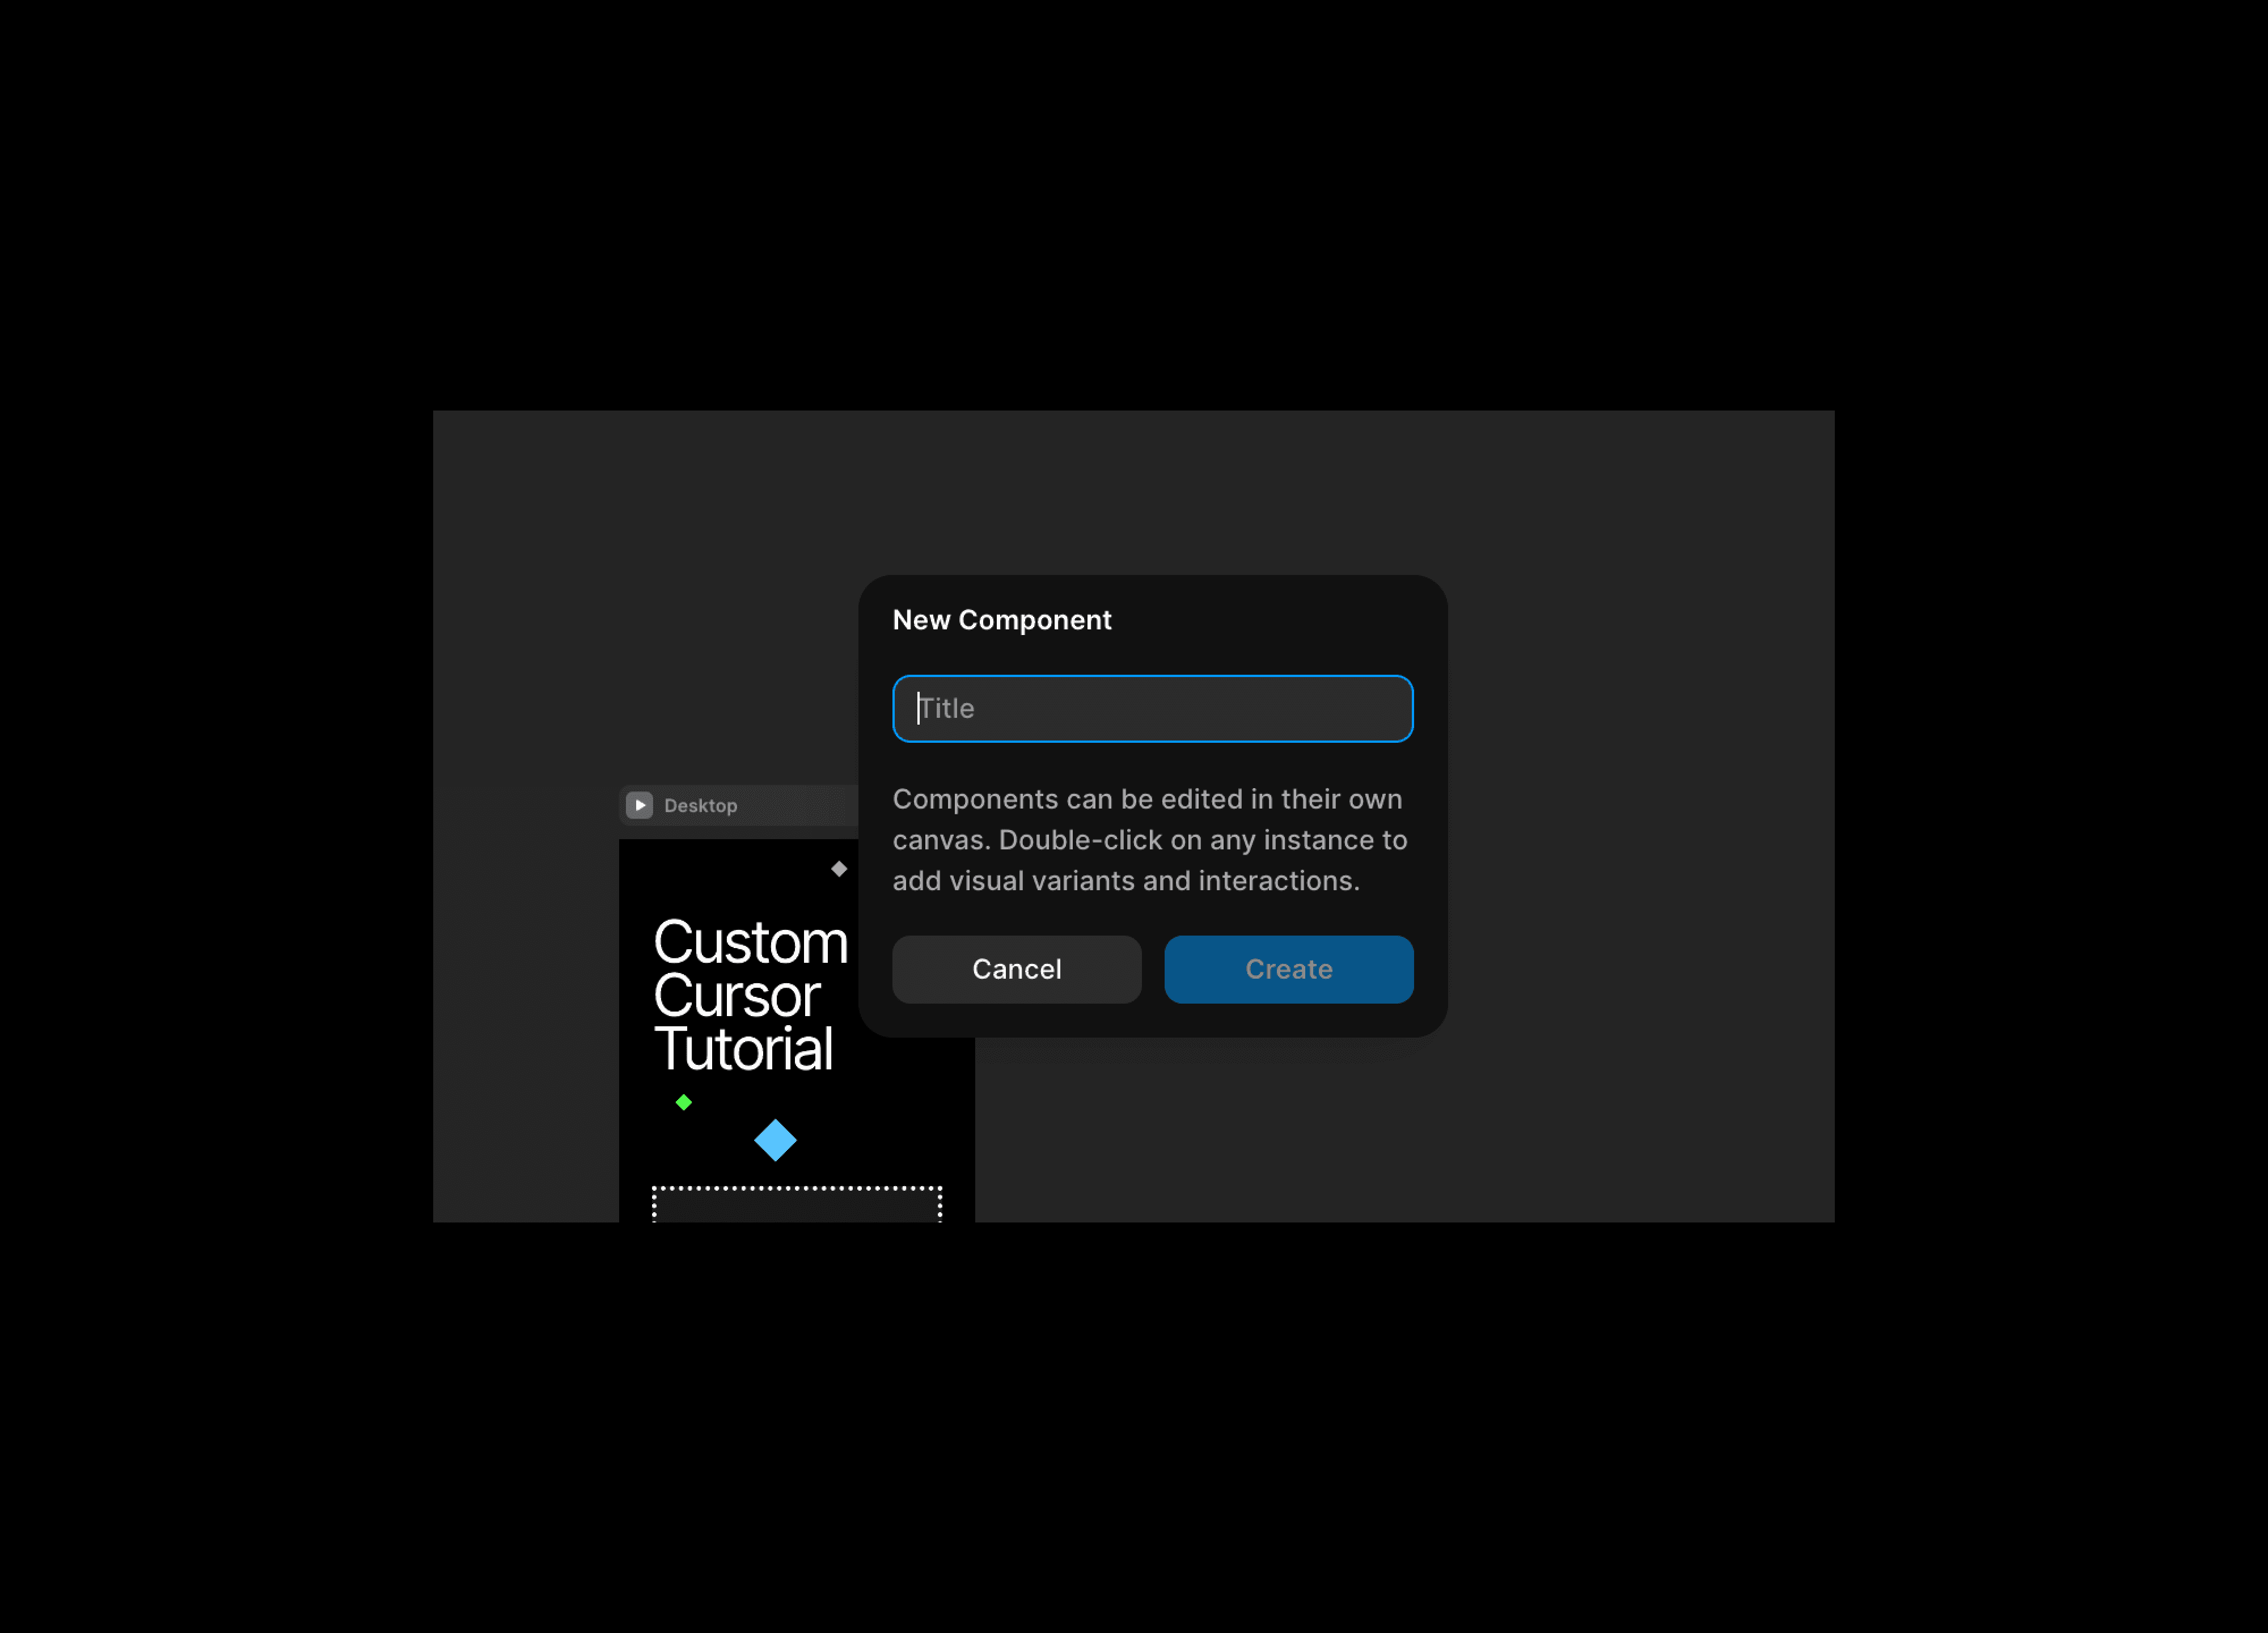
The cursor component can be a large area of 250px * 250px, but feel free to choose any size you prefer. Don't worry about having a specific size in mind, as this is simply the cursor area and not the actual cursor itself.
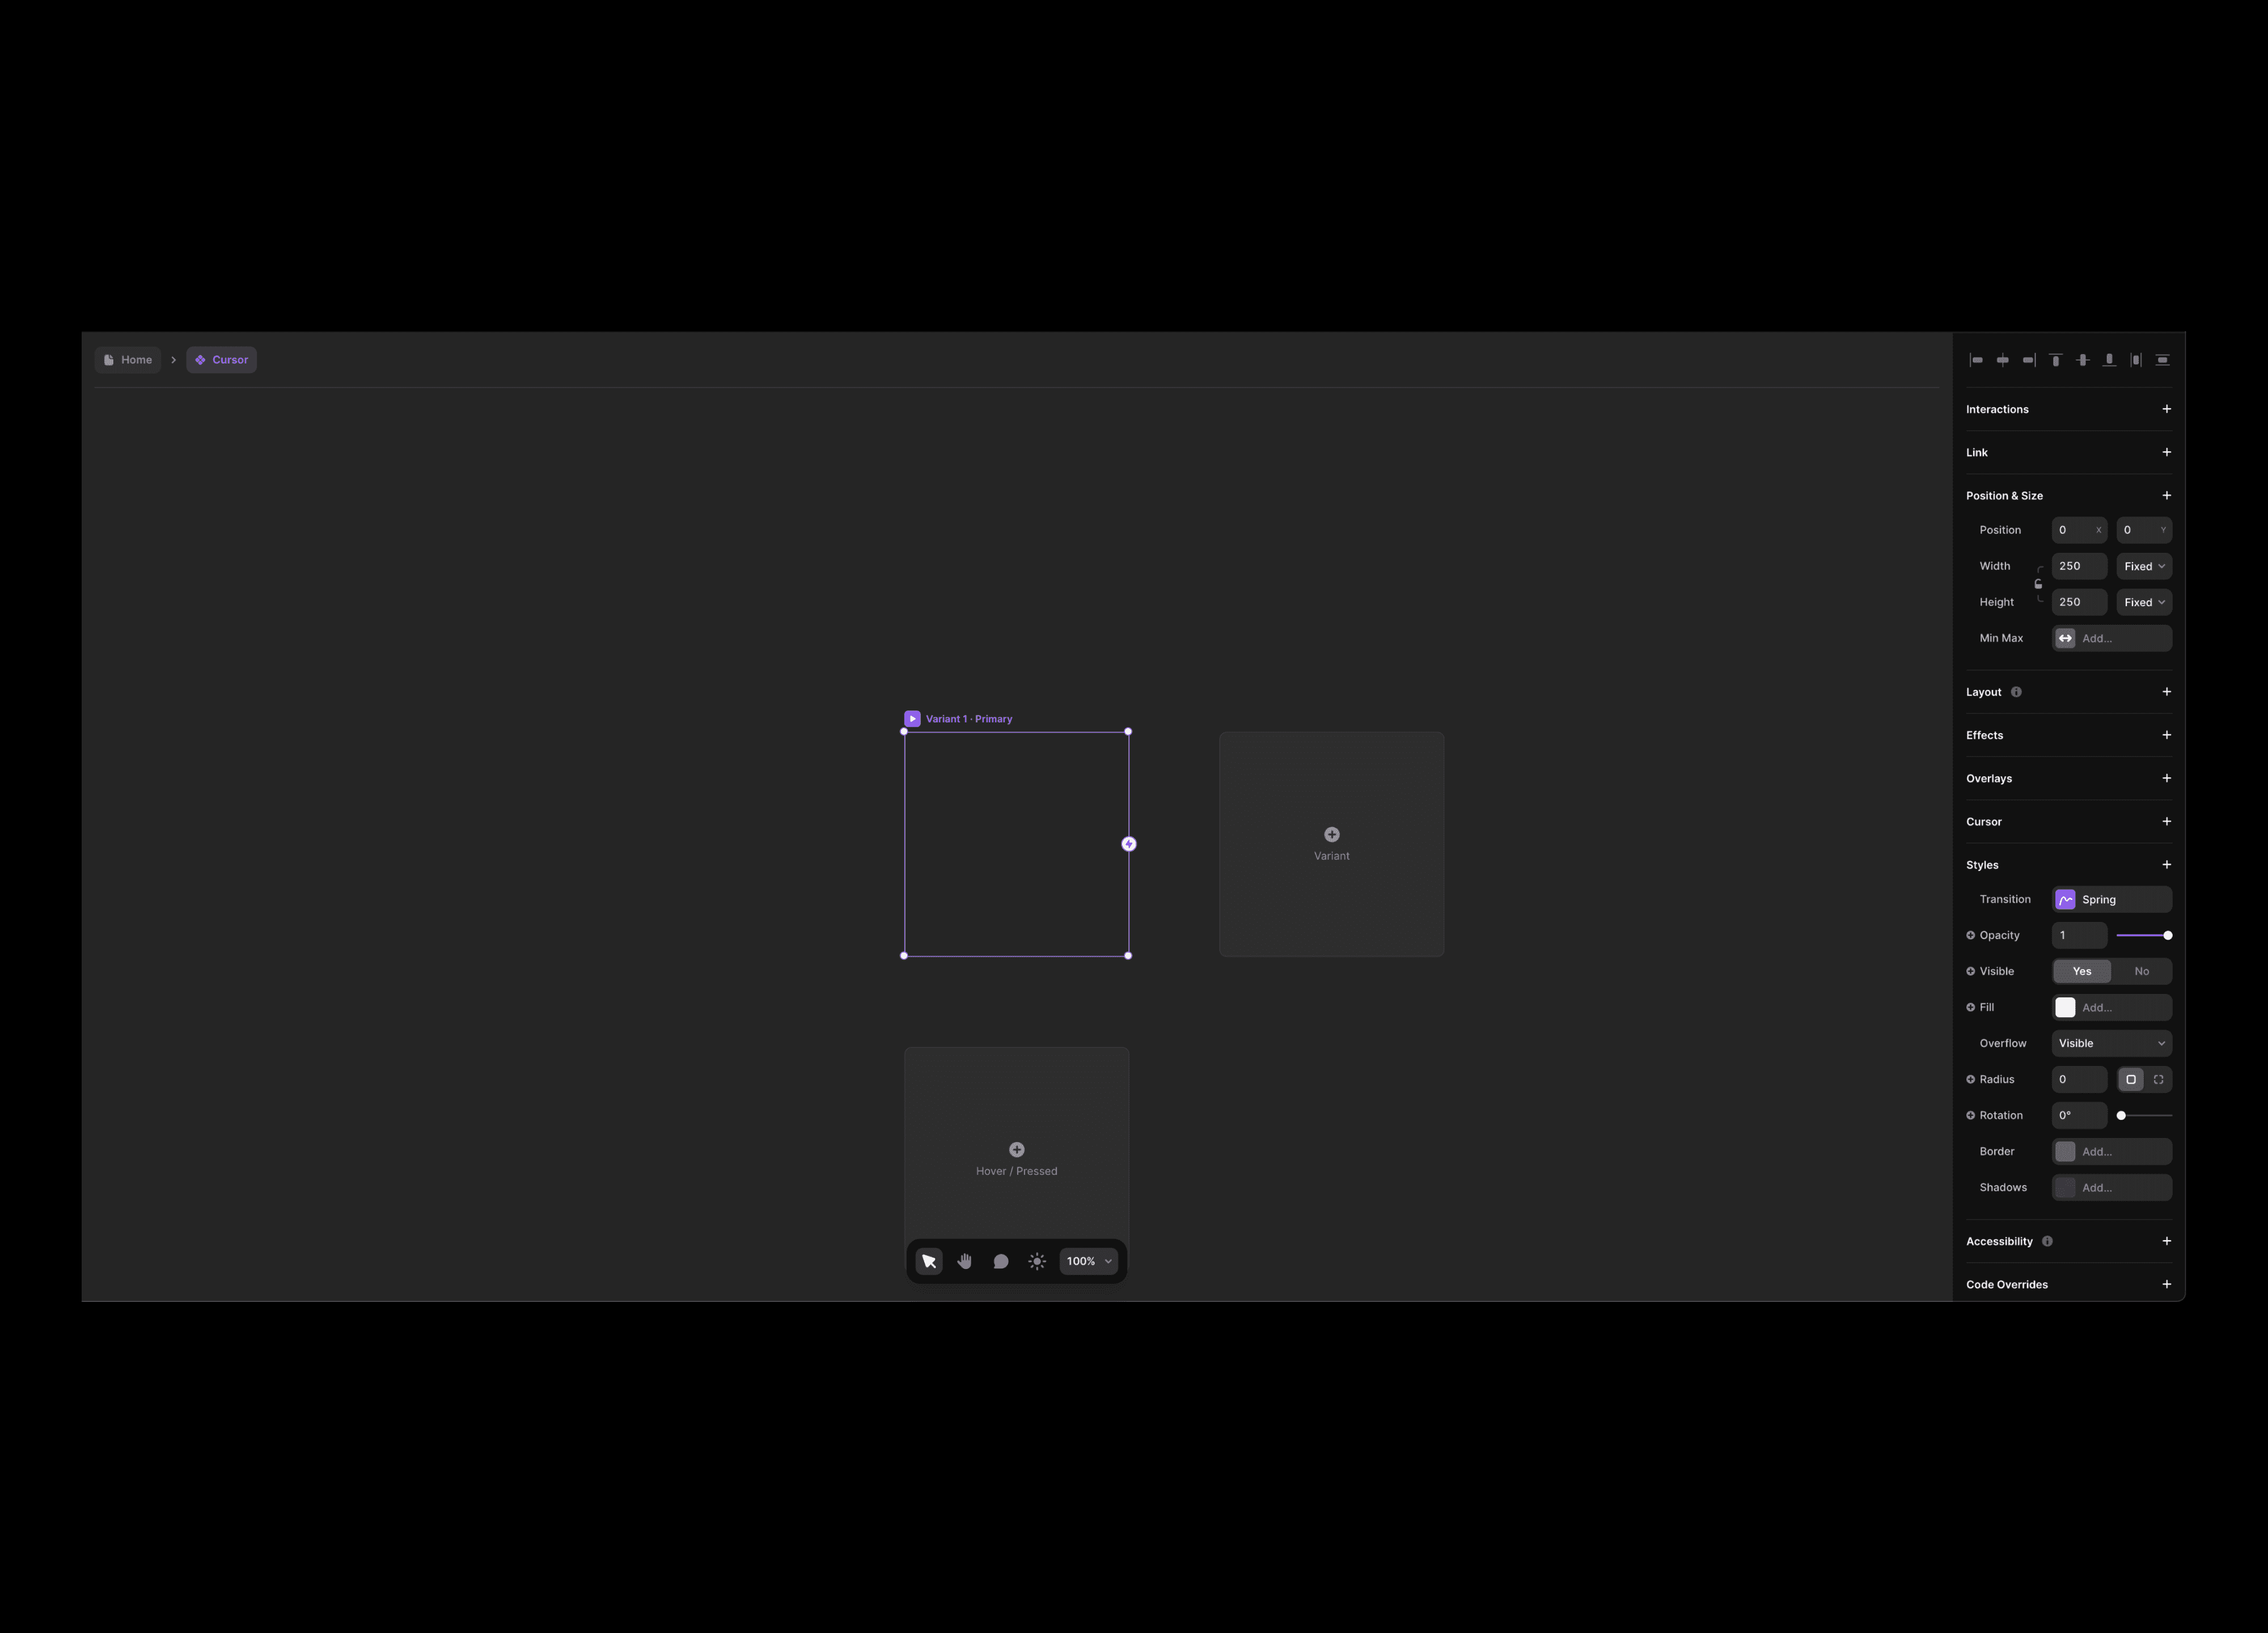
Now, let's create a white circle with no fill, but a white border (or black if you are in light mode).
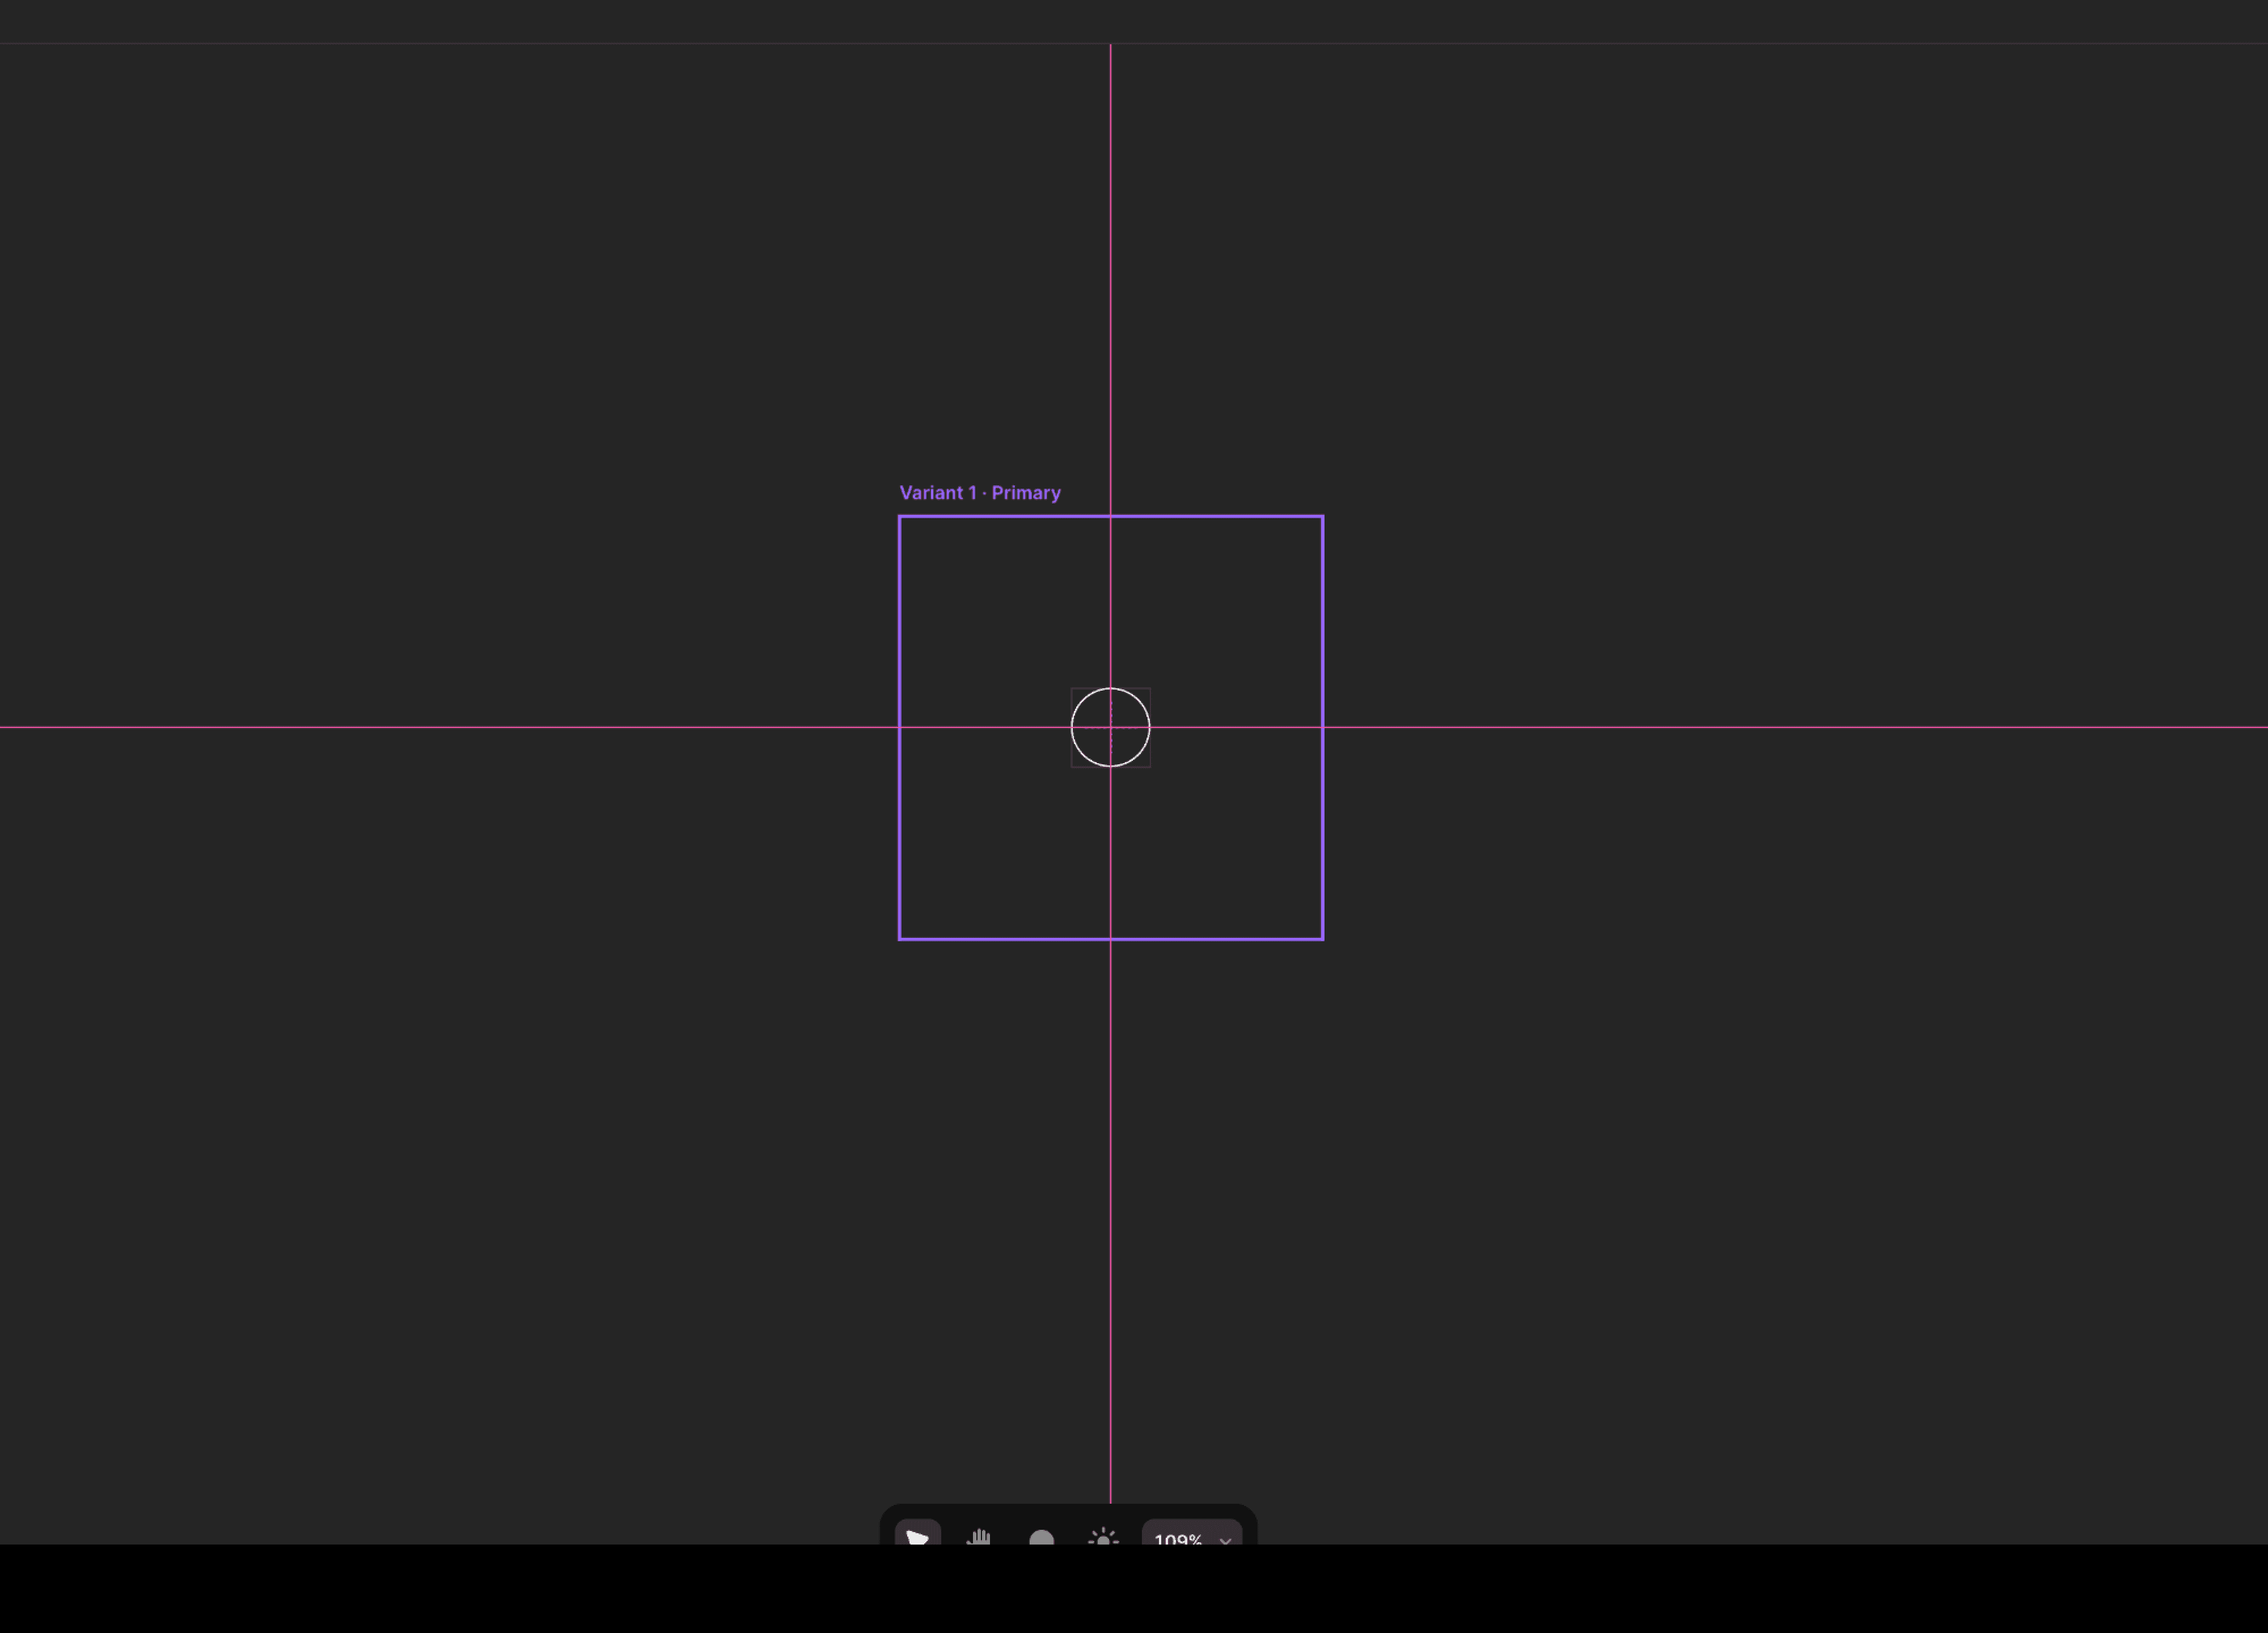
It is important that the cursor is in the center of the component, mainly because if you place it shifted to one side, it will look a bit strange.
Now duplicate the variant, so you will have the primary one and a second variant. You can name the first variant as you like, but "Default Cursor" could work well. The second one should be named "Hover Cursor" for this tutorial purpose.
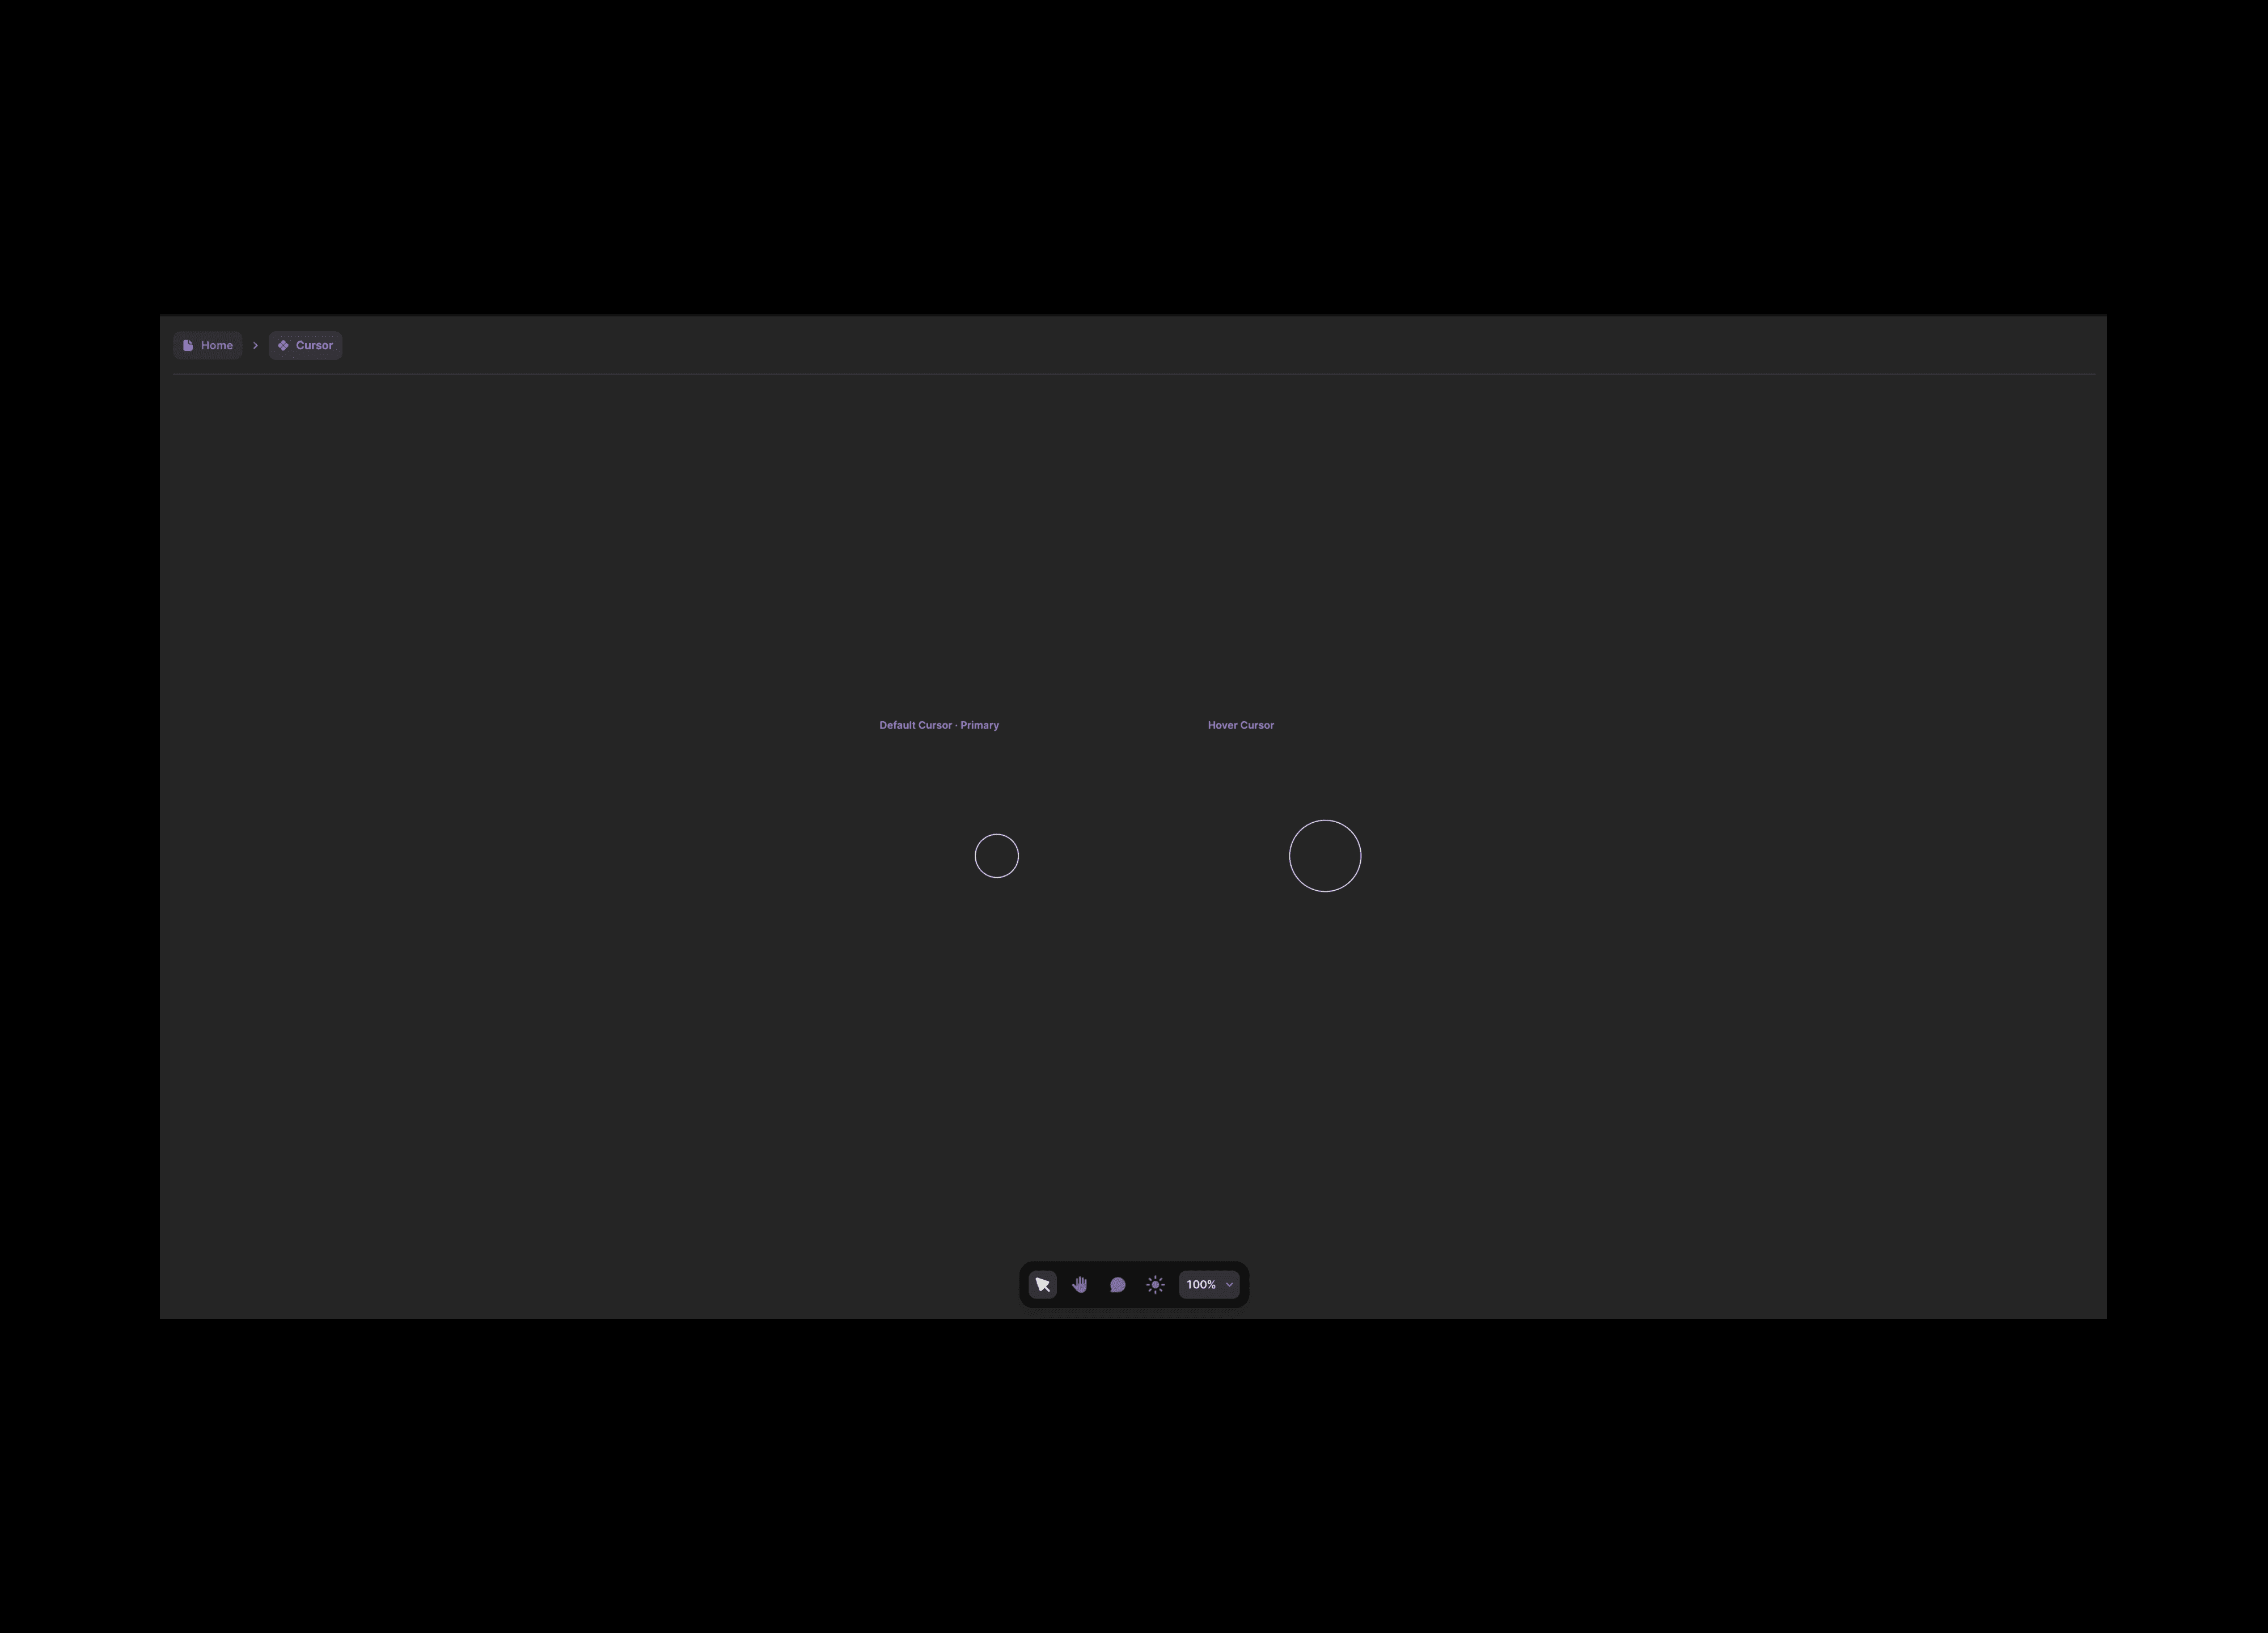
In the Hover Cursor, enlarge the circle a bit, almost double its size.
Alright, for now, we are done here.
Set the Custom Cursor on Your Framer Pages
Now, navigate to one of your Framer pages and select the desired page (I click on "Desktop" on the top). In the right panel, locate the Cursor option and choose your "Cursor" component, specifically the "Default Cursor" variant.
By doing this, the entire page will have the Default Cursor, replacing the system cursor. However, it's important to be cautious and consider usability and accessibility measures. It's worth noting that this type of cursor may violate some of these measures, but it's a trade-off for creativity. Just be mindful not to go overboard.
Once you've set the cursor for the entire page, it's time to enhance its smoothness. The goal is to have the cursor follow the mouse movement in a gentle manner. Instead of being abrupt and fast like the default, it should be slower and smoother. However, be cautious not to overdo it.
To do this, go to the cursor panel and choose the "transition" option. This lets you add a transition that controls how the cursor moves and the time it takes to get to the desired position with the mouse. This is especially helpful if you're using a big cursor because adding some smoothness makes the effect more realistic and fun.
Cursor that changes on hover
Now that we have set a Custom Cursor that appears throughout the page, it's time to move on to the next step and make the Cursor "transform" when we hover over an element on the page or a section.
Select any element on the page and, in the right panel, set the Cursor Component again, but this time choose the other variant you created earlier, the Hover Cursor Variant.

Also, remember to set a transition, which could be much slower than normal if desired. This is a widely used and pleasant effect, and since it will only last on hover, you can go all out.
In Preview, check the result. Hover over the element to which you assigned another Cursor Variant, and as if by magic, it will transform into the chosen variant. This opens the doors to endless possibilities, with creativity being the only limit.
Few examples of what you can do with the Custom Cursor
Change the cursor to a specific icon or image when hovering over different navigation links, giving users a visual cue of where they are on the page.
Use different Custom Cursor Variants for different sections of a page, creating a unique and interactive experience for the user.
Have the cursor transform into an animated version of your brand's logo, adding personality and creativity to your website.
Create a custom cursor that changes color and shape depending on the time of day, giving your website a dynamic touch.
Implement different cursor effects for elements such as buttons or images, making them stand out and inviting users to interact with them.
Design a custom cursor that follows a specific theme or aesthetic, adding cohesiveness